This summer, we took a fun family trip to the beach. I took a ton of photos, especially on my phone since I love to post on Instagram. So, I thought it would be fun to make a Vacation Memory Book for the photos that I posted.
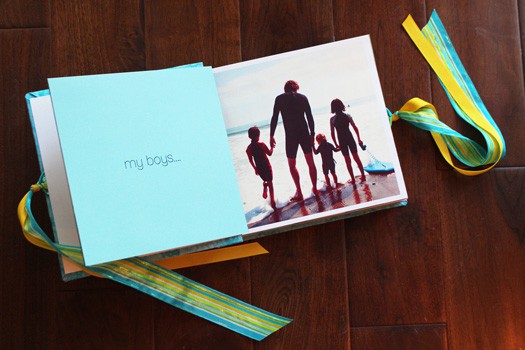
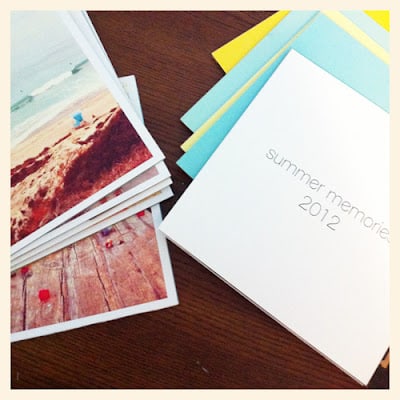
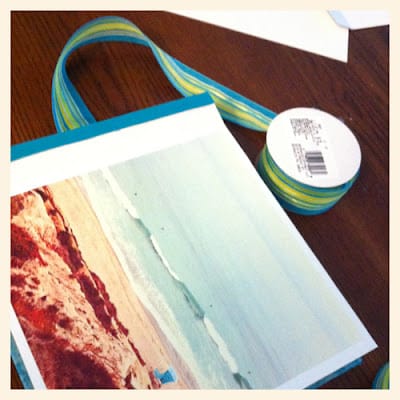
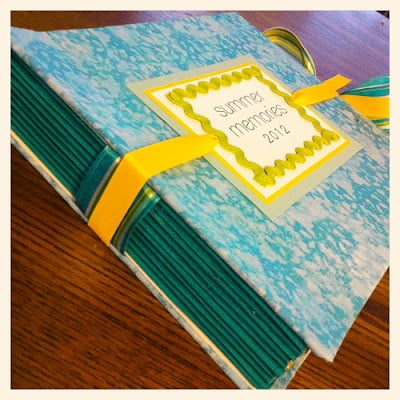
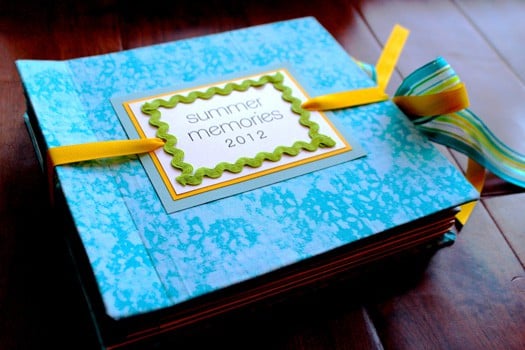
The Vacation Memory Book I created is the perfect size to display 8-½" square photos. I just printed them out on regular computer paper and trimmed. on the other side of each page, i put some simple wording onto 8-½" square cardstock to correspond to each photo. I am really happy with the result of a clean and simple memory book to display my photos. I wrote this DIY Vacation Memory Book Tutorial so you can also make one.
To create your own vacation memory book, it is easier than you think. you will need to get the supplies listed below, and then follow the complete tutorial.
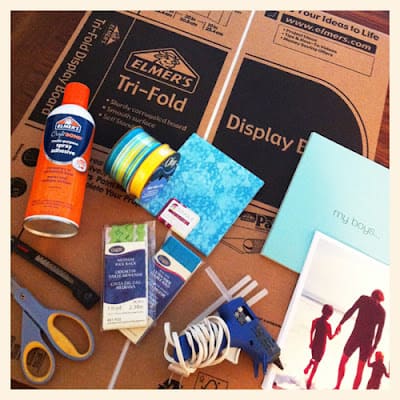
supplies:
• Elmer's Tri-Fold Display Board
• Spray Adhesive (i like Elmer's Craft Bond multi-purpose spray adhesive)
• 2 - 12" x 10" pieces of fabric
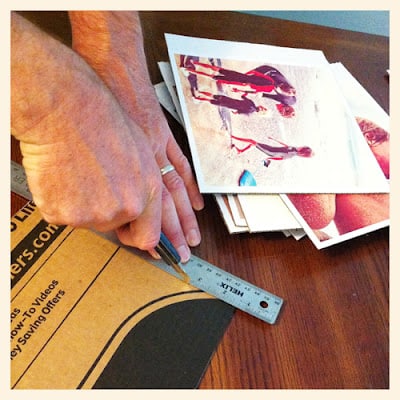
• 10 pictures (cut to 8-½" x 8-½")
• cardstock with corresponding wording for pictures (cut to 8-½" x 8-½")
1 (cut to 8-¾" x 9-¾")
1 (cut to 8-¾" x 8-½")
1 (cut to 8-¾" x 1-¼")
• ribbon
• 1 package double-fold bias tape
• embellishments and/or tag to decorate cover
• hot glue gun & hot glue sticks
• scissors
• Exacto knife
Directions to Make a Vacation Memory Book
For the pages:
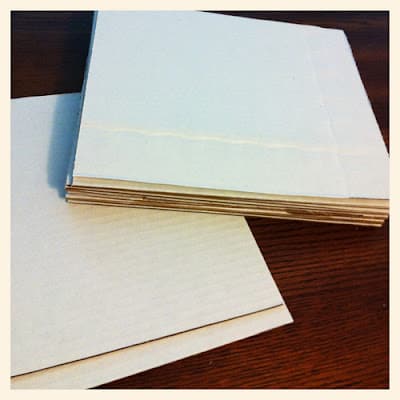
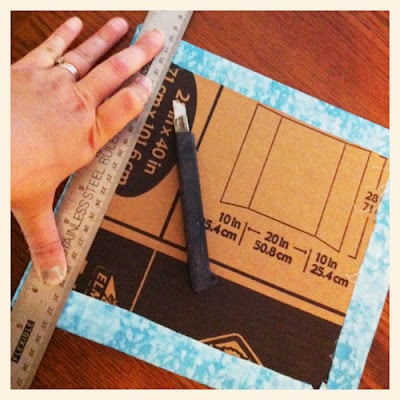
Cut the display board into 10 (8-½" x 9-¾" pieces) & 2 (9" x 10") with an Exacto knife.
Glue your photos onto the right side of the smaller boards leaving 1-½" of left side of the board uncovered. turn the photo board over and score that side in 1-¼". (the scoring will help the pages bend better. Be careful not to cut all the way through the board.)
After you are finished scoring each page, put your pages in the order you want your book to read. then, using spray adhesive, glue the colored cardstock with words onto the other side of each page. Make sure you put the right wording onto the correct pages.
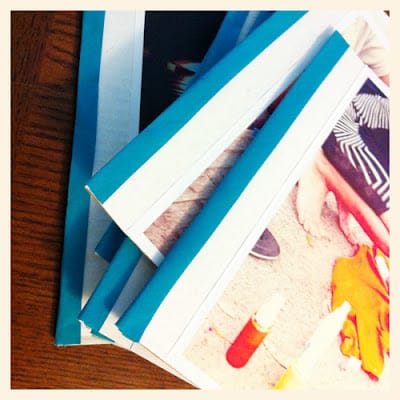
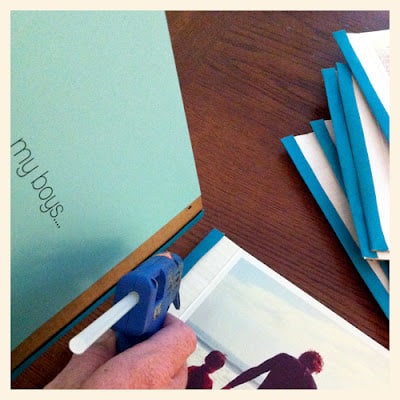
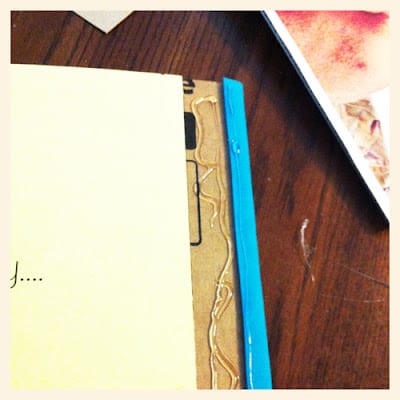
Cut double fold bias tape into 8-½" strips. Hot glue each piece over the outer left side edge of each page.
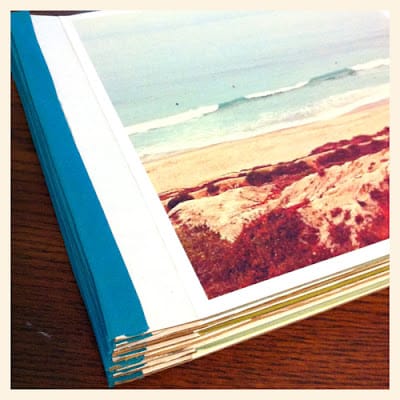
Once each page has been cover by double-sided bias tape, using a glue gun, glue all the pages together along the spine. make sure they are in the right order. while the glue is still hot, you can adjust to make sure they are lined up well.
You will end up with a fully glued stack of pages that are ready to place into the cover of your book.
Directions for making the cover
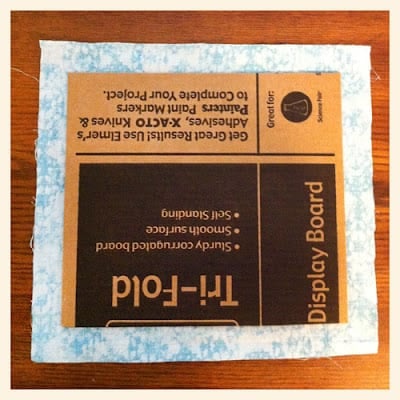
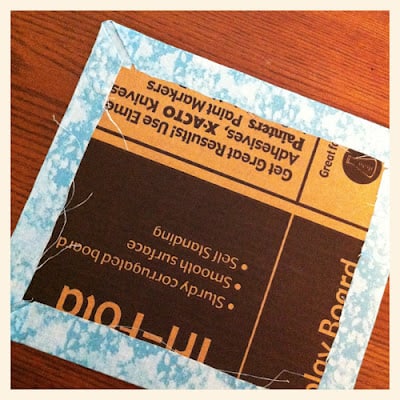
Using the spray adhesive, spray the wrong side of the fabric and place one of the larger pieces of cardboard on top, white side down.
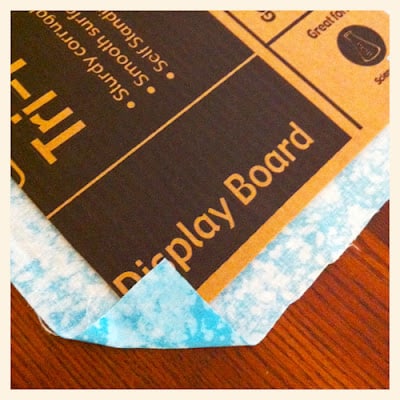
First, fold up each of the 4 corners making a 45º angles.
Then fold up the sides to completely wrap the board. do this to both of the large boards.
adding the ribbon tie to the cover
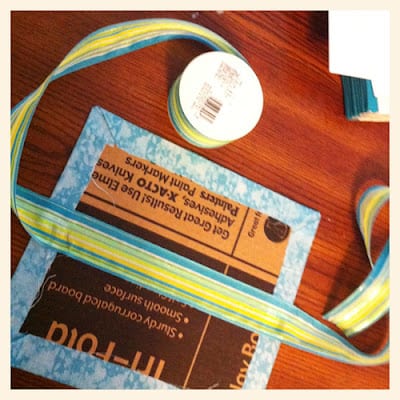
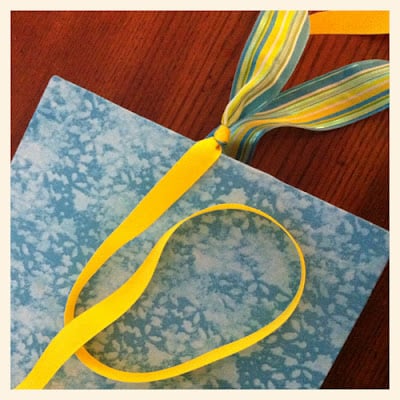
Take the board that will be the bottom cover and glue the ribbon to it with hot glue. leave at least 1' of ribbon hanging off the right side. Do not cut the ribbon on the left side. leave on the spool.
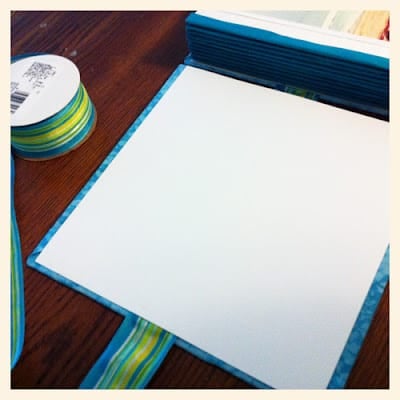
Using spray adhesive, glue cardstock over the ribbon to the inside if the bottom cover.
Then using spray adhesive, glue the spine of your stack of pages to the bottom cover with hot glue.
Take the front cover of your book and score the side that will be the spine, 1-½" in (you will cut the fabric, but do not go all the way through the cardboard.). By scoring, your top cover should bend nicely.
This part is a little trick to explain. For the top cover, you need to allow enough ribbon slack to go accross the spine. approximately 1-¾". then lay the next part of the ribbon accross the cover and glue down the section on the spine. (the 1-½" before the score.)
Using spray adhesive, glue the 8-¾" x 1-¼" cardstock over the ribbon and cover. then bend the cover back creating ribbon slack. continue to glue the ribbon across the rest of the cover. using spray adhesive, glue the 8-¾" x 8-½" cardstock over the ribbon and cover.
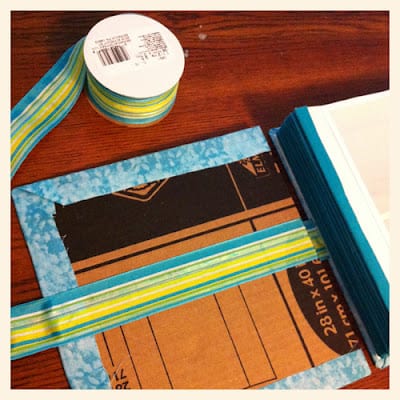 You are almost done now! close the cover of your memory book and cut to ribbon to the desired length. If you would like to add ribbon and a tag to the top of your book, here's how...
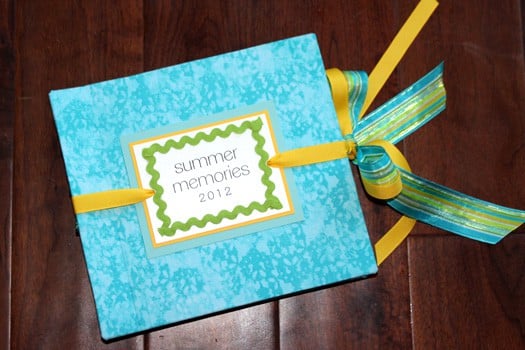
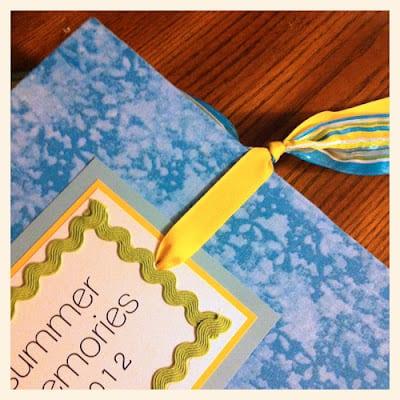
Add the top ribbon by tying the tail to the top ribbon with a knot.
Then slide your cover tag onto the ribbon. you may want to then glue down your tag to the cover.
Continue to wrap the ribbon around the album and tie the other end to the ribbon attached to the back cover.
Tie all the ribbons together to close your book. and with that you Vacation Memory Book is finished!
{ Disclosure: This shop has been compensated as part of a social shopper insights study for Collective Bias™.}



Shelby Barone
What an adorable Summer Memories book. The ribbons are so pretty, and your children will cherish this memory book forever.
Rebecca E. Parsons/Cre8Tiva
awesome job...beautiful papers
The Sherman Four
ok that is really neat!!!!!!
Alma Bosek
This is such a great idea. You are so creative!
officewithaview.co
That is beautiful! 🙂
Maya Rouillard
I'm gonna try this on our last vacation for a Christmas present for my mom, I'll see how it goes!